If you are using Canva to create content for print, we have found the best practice for producing a pdf that our system can process is as follows.
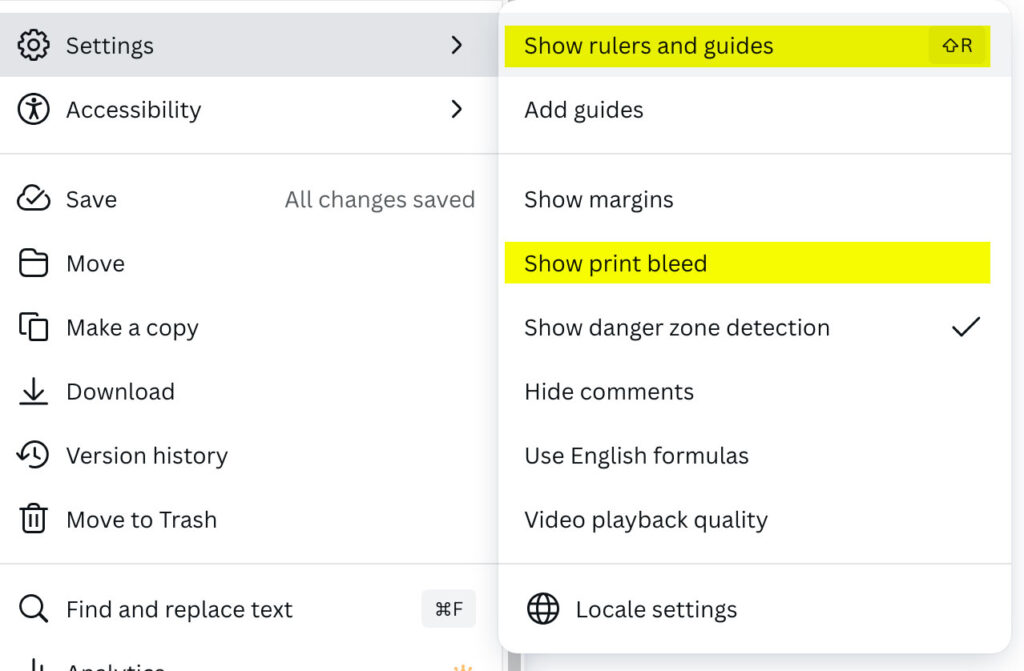
First, you will want to design the file with print in mind. When starting your file make sure you opt to show print bleed, and if you have an image that goes to the edge, make sure it goes all the way into the bleed. Showing rulers and guides helps, too, so you know what size you are actually working on.
Design your black text using #000000 and we can convert it to 100% black ink using PitStop Pro.
Make sure you have plenty of margin between the trim and the live area. Make sure you include bleed when necessary.
Set that file up right from the start, design your piece, then when it comes time to send it to us, follow these steps to Download a PDF.
You will want to select Download, then select the file type PDF Print. Check Crop marks and bleed, and if you are using Canva Pro, it would be best to select the CMYK Color Profile. If you don’t have Canva Pro, don’t worry. Our workflow converts everything to CMYK. Just check your proof for color, because some colors shift when converting from RGB to CMYK, but that’s for another post.
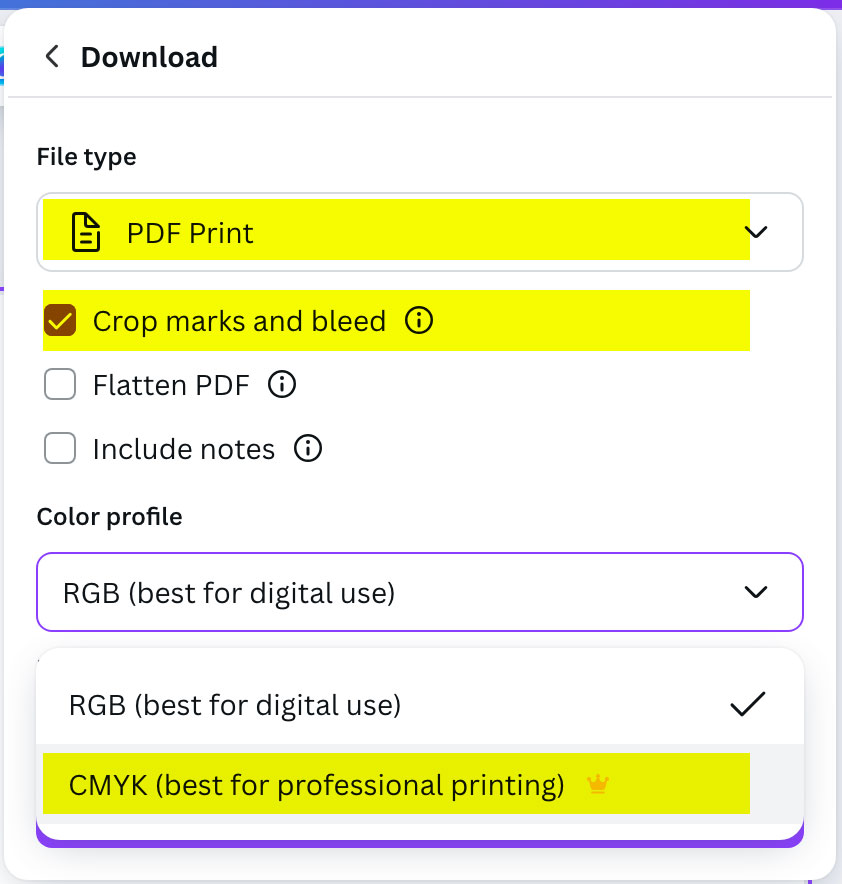
DO NOT “Flatten PDF.” That will rasterize the file and it’s not the best quality. In some cases, a file will be too complex and will need to be rasterized in order to print, but that’s not a preferred method.
Leave a Reply